Total Pageviews

Showing posts with label grand calibur. Show all posts

Friday, 20 April 2012

Mice Day! - Friday 20th April

Hi Friends!


I'm back! Sorry to have been 'away' all week, but it's been a busy one and whilst I've managed to dip into and try to comment on all of the blogs I follow, there has been no time to update my own.


Today's card is a simple one, I just made whilst setting aside a small amount of time to just play with design a few weeks ago...


I first of all stamped this cute little House Mouse on Coconut White card, which I just love for both stamping and die-cutting. It's available through Creative Expressions. After colouring the mouse with Promarkers, I die-cut using Labels 24 (Spellbinders) and shaded the edges with a mix of Worn Lipstick and Spun Sugar distress ink. All the coloured papers I used were from a pad that was free with a magazine recently. I first of all stuck the pink paper to the front of a 6x6 card blank and then using Labels 24 again, cut into the front of the card. This left me with an aperture and a spare die-cut shape.


The die cut shape was used to mat and layer the original die-cut, after first shading with worn lipstick ink. 


I covered the inside of the card blank (the side facing the aperture) with yellow and pink paper from the same pack and mat and layered the other die-cuts on top to fit snugly within the aperture, adding a few gems and a little cosmic twinkles.


Finally I cut some bunting from the yellow paper and attached it to the front of the card with some ribbon and a few tiny brads. I stamped the sentiment on one of the smaller dies from labels 24 and shaded the edges.


Have a good Friday and thanks for stopping by!
Carole X


Thursday, 8 March 2012

little brown bear - 8th March

Hello!


A quick card for today! Just lately I have been receiving a high number of commissions, which is great, but with having to work at a day job in-between (!),  has left me little time to play. Yesterday, for example I spent the entire day creating three commissioned cards. The hardest part is staring at the order and trying to create a design in my head, sketching it and getting started. Once I get past that stage, it's usually all systems go. If I'm asked for something really specific I have to confess, I often cringe, whereas a general idea is a great starting point! One of the cards I made yesterday was a child's pirate theme..that was a lot of fun to make and I had just the stamp I needed. That card will be revealed at a much later date, but look here tomorrow for a smaller card I made with left over pieces of paper and card at the end of the day!


Something I do if I can after a day of making cards for commissions is to 'wind down' by making a quick card for my craft fair box or the  box my husband keeps at work. I don't always get the chance, but there have been a few nights of football on TV this week, so I didn't feel guilty about insisting he watched it on the big TV whilst I disappeared to the craft room! 
This card I made a couple of nights ago from left overs...
The last time I made a card for my blog featuring this adorable little bear (Aloysius) from Indigo Blu, I stamped him on silk art card and coloured him with tea-dye distress ink a few times ahead of making more cards.


This time I die-cut him inside a Spellbinders Romantic Rectangles die and distressed the edges with tea-dye. This is part of the set of dies I bought recently from Create and Craft as part of my birthday present (It's not my birthday until the 19th, but it seemed a shame to wait!). This die set is proving very useful as the largest one is really quite large and as of yet, I don't have many Grand dies. It also has a very pretty edge with a slightly 'vintage' feel.


I had been making a card where I had embossed with M-Bossability Mistique and had enough left over to cover a 6x6 card. I distressed this all over with Antique Photo ink and mounted the image in the centre.


To finish off I added a chocolate coloured piece of vintage ribbon, tied  a bow and added a button threaded with bakers twine.


Thanks for stopping by,
Carole X

Tuesday, 28 February 2012

Vintage Hollywood - 28th February

Good Morning!


The cards I am going to share over the next few days are all as a result of using some tools/stash I haven't used in a while, mixing them with some new additions and sitting down to experiment with a blank canvas!


My first one is a Hollywood inspired card..I probably should have posted this yesterday to coincide with the Oscars! Instead of all the usual glitz and sparkle, I tried a muted, worn, distressed vintage feel and this is the result...

I started with an 8x8 piece of cream card. Last week when Sue Wilson was on Create and Craft, she brought with her the card that she always uses for stamping and die cutting and as I had been anxious to try it, I ordered some. It arrived on Friday and I have to say I love it.


First of all I roughly distressed the whole card with Vintage Photo distress ink. Amongst my stash I had a sheet of 12x12 'admit one' ticket paper, so I added them to the spine of the card on the left side..it's weird because on the actual card, they look really neat compared to the photo! I printed the papers and topper from Debbi Moore's Diamonds and Lace CD. The two die cuts are made using Spellbinders Grand Scalloped Rectangles. One thing I need to do is invest in a few more 'Grand' dies, as I only have a few. I could have cut a better shape for this card with the Cricut, but I really wanted the embossed edges. I again used Vintage Photo on the script die-cut, but on the film die-cut, I used a little black soot. I did use a little of my Cosmic Twinkles around the edges. I think that even a vintage Hollywood card needs a little glitz!


The 'Happy Birthday' ticket is stamped on some of the left over cream card, using Sam Poole's  Celebration Tickets stamp set, distressed with Vintage Photo.


I finished off with some gorgeous coffee creme coloured crushed satin ribbon, a little diamante pin from my button box, a few peel off starts and 2 Creative Expressions hat pins...


But....the whole card was really made because before Christmas I had bought a little tin of Tim Holz movie reel ribbon and I had been itching to use it. I attached it across the topper with tiny brads and let it rise up to give it a 3D effect. It will easily fold flat and then bounces back. I love it, but will use it wisely from now on!


Carole X


For this project I used: 8x8 Card blank
                                  Cream card
                                  Debbi Moore's Diamond and Lace CD
                                  Vintage crushed satin ribbon
                                  Tickets from My Mind's Eye Kraft Fun 12x12 Kraft card
                                  Sam Poole Celebrations stamp
                                  Vintage Photo, Black Soot distress ink
                                  Cosmic Shimmer PVA glue and Cosmic Twinkles
                                  Tim Holz Film reel ribbon
                                  items from stash

Monday, 27 February 2012

Bluebelle Hen - 27th February

Morning Bloggers!

I have posted cards using this little hen stamp before, but I made this one recently for a friend's birthday. Some of you will know that we keep pet hens; our 'old girl', Buffy is 5 years old and a big, beautiful Bluebelle. Her colours vary through her plumage from a soft grey to a deep lavender blue and the reason I tried to emulate the colours in my card is that my friend also keeps a couple of Bluebelles....


This is a 6x6 card and for the base layer I used some pretty vintage 'country style' paper from my stash box. I distressed the edges with Milled Lavender distress ink. I stamped the image on Neneh White card and coloured the hen with a both Promarkers and Flexmarkers. It actually took a while to get the colours and shading as I wanted, despite the image being quite small, but I was very pleased with the end result!


This little stamp was a free gift with Craft Stamper magazine a few months ago and I really like using it. I cut the image using Spellbinders Teardrop Circles and again shaded the edges with Milled Lavender.


I finished off with a little edge of lace to follow through the Vintage theme and made a flower using pages from an old Thomas Hardy novel made with very thin paper, that I picked up for pence in a charity shop. I used the three smallest layers from the Spellbinders Anemone die, held together with a small brad and scrunched together to make a crumpled flower.

Carole X

Saturday, 25 February 2012

Pretty in Pink - 25th February

Good Morning bloggers,


I'm back today with the first of two cards made for commissions...I have also been working on a few new cards to upload in the next few days....


It's very difficult when I get asked to make two cards for the same person, whatever happens they are going to have my 'stamp' on them and my challenge is for them to be different. 


For this card, which is 8x8, I started with a base layer of card from my Desert Flowers pad. I bought this on a whim and goodness it has been very useful! I shaded the edges with Spun Sugar distress ink, just to lift it a little and then I went for a letterpress effect for the next stage: I took the Spellbinders Heart Squares die and inked it with Perfect Medium. I then placed white card over it and embossed it as normal through the Grand Calibur. The result is the the embossed card can then be cut ut by hand, sprinkled with embossing powder (in this case Cosmic Shimmer Aurora Crystal and heat embossed. Unfortunately, it doesn't really show up in the photo.


I typed the greeting before cutting and embossing it with a smaller die from the same set.For the shading I used Worn Lipstick distress ink. I made the flowers using felt and the Flower Creations and Spiral Blossom One Spellbinders. I just love making these flowers from felt! The age greeting is cut from the Lacey Ovals die, shaded with Worn Lipstick ink and I finished the card with wide, sheer ribbon in a nice bright pink...a rather cheery card I think!


Carole X
Thursday, 23 February 2012

Plain & Simple - 23rd February

Hello Bloggers!


Today's card is a simple design, which I think would work for birthdays or 'just because' days! I just started with some yellow coredinations card stock adhered to a 6x6  blank. I sanded it lightly, but it doesn't show in the photo. I matted and layered this with some card from stash (desert blooms pad) and then cut the two largest dies from the Spellbinders Heart Squares set. The flower was cut using the Anemone die, out of wool felt, which is really soft and easy to cut. The card is completed with a button from my button box and  tied with bakers twine. A nice simple card for those times we are all in a hurry.

I'm not going to be posting on Friday, we have some family staying over night  and I haven't had time to schedule any more posts...so hope to be back on Saturday!

Thanks for stopping by,
Carole X

Wednesday, 22 February 2012

Birthday Owl - 22nd February

 Hello!


I'm late today...no work, but quite a few orders to get cracking on and Sue Wilson has the Pick of the Day on Ideal World/Create and Craft, so it's been quite a perfect day really! I will be sharing today's creations over the next few weeks...and yes, I was tempted by some Spellbinders last night. Fortunately it's my birthday next month!!!!


Today's card is a 6x6  card that was made for a friend's birthday. I started by running some dusky pink coredinations card through my Grand Calibur using the Floral Delight Grand Impressabilities embossing die and then sanded it to raise the image.


I printed an owl from my Polkadoodles Sugar Babies CD and cut it out. I then cut and embossed a Spellbinders Lacey Ovals die. This is one of the dies I have always had problems releasing the card from - no matter how careful I am it breaks. Today on TV Sue Wilson suggested using some greaseproof paper over the die and I have been trying it with todays cards and baking parchment  - it works! I have had 100% success rate with my more intricate dies today.

I shaded the outer edge of the die cut with Spun Sugar distress ink and then cut the flowers from Spellbinders Floral Creations, put layered them to make just one flower, the card is white, finished off with Spun Sugar.

Finally I  taped brown and pink polkadot ribbon across the centre of the card and matted and layered the card with the die-cut, image and flower. A few pieces of card candi finished the card. 

Bye for now,
Carole X

Tuesday, 21 February 2012

Teen boys - 21st February

Morning all,


This card was a commission and one of those that was out of my comfort zone, primarily because it was for a teen and a male!!! However, I will not be defeated and was actually pleased with the final card...


Firstly I covered an 8x8 card with paper from a pad of quite funky papers aimed at mens' cards, that I was given for Christmas. The images are digi-decoupage and apologies, but at this moment I can't remember the site I bought it from..when I find out I will amend this post. I liked the images - Techie Teens and decided it would be  a useful one to buy. I printed the two standing boys on card and cut them out into the Grand Scalloped Nesties die, which I shaded with Weathered Wood distress ink. I then cut another, the same shape in silver mirror card. The seated lad was cut out separately and added to the front using sticky pads to give some lift. The greeting was cut with my cricut and I glittered it up by using some Spray and Sparkle over it. The final card had another tag with the boy's name on it as well, but I photographed before adding it.


This was a fun card and I will be using these images on cards to sell at craft fairs as well.


Carole X

Monday, 20 February 2012

Too Much Cake! - 20th February

Morning Bloggers and Crafters!


So here we are, another Monday morning and the start of a working week, when I really want to be in my craft room making cards! Todays card is another one of those cards, that took quite a while and was made 'just because'....


First of all, apologies for photography, not one of my best efforts! This card is 6x6, covered with paper from stash. I just wanted something pale pink, but not completely blank and as I had already planned on adding the little roses, this paper seemed to fit the need exactly. I then added a smaller square of polkadot card from stash, but I think it was originally printed from one of my Polkadoodles CDs and left over from another project. I made tiny holes around the edge with my trusty pokey tool and Tim Holz ruler and made faux stitches with a white jelly roll pen.


The little mouse, who has undoubtedly eaten too much cake, is of course, a stamp from the House Mouse range, which I coloured with Promarkers and cut out using a Spellbinders Grand Nestie Ovals die. I shaded the edges with a Spun Sugar distress ink and then added Cosmic Sparkle to the icing. I mounted the  Oval on the card using sticky pads to give it a bit of height. Using a scrap of card from my odd bits stash box, I cut a scalloped circle using a punch and tucked it behind the oval. There were still some odd bits of the glitter card left, so I cut out the two flowers.


For the greeting, I cut the base polkadot circle from  the Spellbinders Teardrop Circles set and printed the greeting from a Polkadoodles CD, cut out the circle and mounted it on the base circle. The final touches were the roses and ribbons, all from stash.


Hope you like it - happy Monday!
Carole Z

Sunday, 19 February 2012

Birthday Bubbles - 19th February

Good Morning Bloggers!


It's a gorgeous Sunday morning here...I was up early to let our hens out into the garden and they've been clucking happily (and quietly) to themselves ever since! Normally, I try and schedule a week's worth of posts and just revisit to 'tweak'. It's really the only way when I have to go to work and have time to actually make the cards.


Yesterday we went into Bristol for a meander in the lovely Clifton area (it was wet and dreary yesterday- shame) and one of the shops we went into was a sic-fi comic store. I used to be a bit of a nerd about sci-fi (I know it's hard to believe) and I still like it, but less. But I am envious of all these people who make a living from comic art, because from Manga to Marvel, I think it's amazing. Anyway, I digress! This store actually now has an art and crafts section, I kid you not. It consists of books for knitting and crocheting monsters and robots, but I was taken with a little book called 'Steampunk Softies' with patterns and instructions to created little Steampunk miniatures. I bought it....so watch this space, especially as I have yet to create a proper steampunk card!


Today's card is far from Steampunk...it's fun and cute, I made it for a commission and I was really pleased with it!


I began with an 8x8 card blank which I covered with blue and white dotty paper printed from do crafts digital designer  and slightly distressed the edges with the merest hint of weathered wood distress ink.


I then embossed a smaller square of coredinations card with a floral mat from 'That Special Touch' and lightly sanded it. I printed the images from digital designer Tulip and Friends (Tulip and Hot Diggity Dog) and die cut it with Spellbinders Grand Scalloped Rectangles. Again I shaded the edges with Weathered Wood distress ink. I made the rosette from the same base paper and cut the birds and flower with Spellbinders dies from the Cuckoo Clock set. The greeting was printed and cut with Spellbinders  Lacey Ovals die. The border circles were made using a Martha Stewart punch. I then finished it off with a little touch of Cosmic Twinkles and my favourite  final touch, ribbons and buttons!


Have a great Sunday and see you tomorrow,
Carole X

Saturday, 18 February 2012

Mouse Magic! 18th February

Morning!


I like making cards that take a long time to make, where I can really fill the space..but I don't often get the chance because most of the time I am creating a card with a remit from a customer and I am working to against the clock! But first and foremost I love to craft and every now and then have to take time just to put a  card together that is just for the enjoyment of it...and this is exactly how I would describe this card: I hope you like it!


I started with a 6x6 card blank, so it's a smallish card with a lot of dimension. The base blue card with raised polkadots is from my stash box, the paler blue is coredinations, which I embossed by putting a 'That Special Touch...' floral mask through my Grand Calibur. I gently sanded the card to raise the image, but there isn't much of the card showing. I then printed some backing paper (on to card) using docrafts 'Tulip and Friends' cd, cut the card into a square and distressed the edges with worn lipstick distress ink and sewed all around the edge by hand. The little mouse fairy is so sweet! I printed her from the same cd and then cut it out with the Spellbinders heart squares die, The edges were also shaded with  worn lipstick, but very lightly. My first choice would have been spun sugar, but I have used that one right up!


The heart is from Spellbinders classic hearts dies and the deckled circle was cut with my Cricut and tucked behind the heart square, which was added at an angle. The flowers, butterfly and ribbons were all from stash; the cupcake is from the cd and the bird, blue tag and blue flower were cut from the Spellbinders bird sanctuary die.


Finally I finished off with some lace and cosmic shimmer sparkle on the wings and wand.


This card was satisfying to make for several reasons...although I made a sketch of the layout, it came to life as I worked, I used all my favourite craft tools - Spellbinders, Grand Calibur, Cricut, distress inks, ribbons, stamps and cd, so it is a very eclectic finished card, that was a lot of fun to make!


Bye for now,
Carole Z


Friday, 17 February 2012

Birthday Wishes - 17th February

Hello!

I made this card last Summer before I started blogging, but it's one that I haven't shared with you before... so here it is for today's card!


I started with a white scallop edged 8x8 card, then added a smaller cream woven silk card. This was matted and layered with a peach colour card from the same card pad, but which I ran through the Grand Calibur using an embossing mask. I stitched around the edge of the cream card. I cut the black edger using Spellbinders Parisian Accents  and cut the two central designs using Parisian Motifs. In retrospect, I probably should have lightly distressed the white die cut.


The ribbon was a rich wide green vintage,which I absolutely adore; I always think that a ribbon such as this deserves 'centre stage', so I ruched it and tied a huge double bow, adding a button in the centre and finishing off the card with three little buttons at the top.


Carole X

Thursday, 16 February 2012

Cuckoo! 16th February

Morning!


Today's card was a bit of fun with a vintage 'Country' Style. I bought this  Spellbinders die from Polkadoodles at the NEC last year and I confess, I had had my eyes on it for a while. It is fun to use and very effective, besides it's effect can change dramatically depending on the type of effect you want and the colours you choose.


With this card I was going for a kind of whimsical 'homespun' look....


I constructed the clock using Coredinations papers in blue and brown, which I then sanded to bring out the embossing. I started with a 6x6 card, layered with some card from stash. It's quite a deep blue with raised polka dots.


The clock was placed to one side and I printed the greeting on white card-stock, die cut using a die for the Spellbinders Ironworks Accents set and shaded with weathered wood distress ink. The card was edged with lace and the two butterfly buttons were the final touch.
What do you think?
Carole X

Tuesday, 14 February 2012

Happy Valentine's Day! 14th February

Happy St Valentine's and lets hope you are all feeling loved today! Of course today's card has to be themed...so hope you like it! It's the one I made for my husband...


Apologies for the photography! I started with a linen effect gold base layer. I love this particular type of mirror card as it has an elegance about it. I cut the heart on white card from the Spellbinders Classic Hearts die set and then needed a slightly larger heart in gold, so created a faux die. I used a piece of red embossed paper for the next layer and cut it with the Grand Scalloped Rectangles die. The black card was cut with the same die and stamped it using the beautiful Indigo Blu, 'Love is' stamp. I've only just discovered them and this was my first use of the stamp. I stamped it with Perfect Medium and then embossed it in gold. The actual card looks so much better than the picture, which because if the light, doesn't really show up the gorgeous detail in this stamp - but it will be getting lots of use in different ways...so watch this space!


Finally I  shaded the edges of the heart with Worn Lipstick (of course!) distress ink and dotted gold 'pearls' around the edge using Cosmic Shimmer. Finally I added red organza ribbon. The sentiment was typed on to the card before die cutting.


Love to you all, Carole X

Monday, 13 February 2012

Pink Butterfly - 13th February

Morning,


We're all in the pink today..and loving it! This was one of those cards that I made for me..because I wanted to...and am saving for a special birthday or to sell at a craft fair!


I made the tiny dots around the base white layer with my wonderful Tim Holz ruler and then layered this with a deep pink linen effect card from stash. Before fixing the card to the blank I tied an organza ribbon and bow along the side. The sentiment was printed on white card and then cut on the Grand Calibur using a die from the Spellbinders Parisian Motifs set, coloured around the edges with Spun Sugar distress ink. I cut and embossed the butterfly from my favourite 'Fanciful Flight' Spellbinders set, in both white and pink to give it 'flight'. I added the flourish freehand with Creative Expressions Cosmic Shimmer Pearl PVA and the final touch is the pretty zipper rose, again from Creative Expressions.


That's all for now!


Carole X


Sunday, 12 February 2012

Pip n' Cheese - 12th February

Hi there Bloggers,


Remember I made a few twisted easels recently? Well this is the last of them for now...Tatty Button's little friend Pip: cute!


I covered the top and base with paper from stash and followed through with the green theme, edging the card with Shabby Shutters distress ink (very lightly)  and adding green vintage ribbon and sone buttons from my button jar. I stamped and coloured Pip and his parcel with Promarkers and covered the ball of string with bakers twine to make it 'pop'.


The flower was cut with the Spellbinders Flower Creations die and fixed with a brad. I cut it on white card but coloured it with Spun Sugar distress ink, which I also used on the greeting/stopper(cut from labels 4 small). Just out of the photo in the right corner is a little flower with a mini stamped Pip on it.


Carole X


Materials used: Promarkers, distress inks, Spellbinders, Bakers Twine

Friday, 10 February 2012

Anemone - 10th February

Morning,


I made this card a few weeks ago and it was based on an design shared by Sue Wilson on her blog. I liked it so much that I had been itching to try it! Firstly, I typed the greeting on white card and then embossed the card top and botton using the a Creative Expressions mask with my Grand Calibur. I started with a white card blank and matted and layered alternately with white and gold mirror card, finishing with the white embossed card.
I  made gold pearl dots on the embossed card with Cosmic Shimmer Olympic Gold.  made the flower using the Spellbinder Anemone die with paper from stash and layed this on top of a bow tied around the top layer with a pretty edged sheer ribbon.


Hope you like it!
Carole Z


An extra note from me....due to having to do a 'proper' job, I usually schedule my posts a week ahead. I had forgotten this card was being posted today and it is very poignant for me to see it...I made it for my 98 year old aunt's birthday a month ago. There was an error made by the post office (I won't bore you) and in the end my cousin (her grandaughter)had to collect it, so it was late. By then aunty had been taken poorly and was in a nursing home. Sadly she passed away yesterday. It was peaceful and she had told me when we visited Sunday that she was ready to 'leave'. She thanked me for my cards, which she always loved to open. So my oldest aunty, the last surviving connection for me to the past is now reunited with her daughter, husband, my Mum and all their other brothers and sisters...sleep peacefully aunty Mabel X


Thursday, 2 February 2012

Floral Bouquet - 2nd February

Morning!


I don't know what to call today's project...it's not a card, just a collection of little flowers I made last week and decided to make into a picture. There was no real thought behind it, but it is now on a shelf in my craft room and is rather pleasing to look at...it has certainly given me some inspiration in the type of flowers I am making for cards and other projects!


Where to start with the description? The leaves were all cut from my Matchmakers Brights pad and for most of them I used Spellbinders dies from various leaf sets...however...some were cut with the Cricut Storybook cartridge, which was very naughty of me because it is white core. It was hard to cut, because I couldn't get the pressure etc right and it tore the paper..and didn't do the blade any good either. But I needed the  flourishes and at present none of my Spellbinders dies are big enough.


All the flowers were made with Spellbinders dies: the big pink flower is the Peony die ...I just cut several different sized layers, secured them together with a brad and then crumpled it up. An easy flower. If I had wanted to I could have added inks or micas, but for this project I wanted to keep it simple (and I wasn't in a messy mood!).


Two of the felt flowers, the orange flower and the pink flower were all variations of  a rose, made with the Spiral Blossom One die and the white flower is created with a mix of blossoms from Flower Creations.The large red felt flower was a little more complex....
I cut three layers from the lovely Anemone Flower Topper and then added the centre by just rolling a strip of red felt. For all the felt flowers I used Cosmic Shimmer acrylic glue. It grabs the materials for glueing really quickly and dries absolutely clear. This glue and Pinflair are the only glues I use.


When I look at this particular flower now, I think that in yellow, with orange for the bugle, it would make a gorgeous daffodil, so I'm going to give this a try.


I think I will just call this an exercise.. would be a good one for a workshop, I will keep that in mind!
All the best,
Carole X

Monday, 30 January 2012

Jumping for Joy! 30th January 2012

Today's card is one of my favourite stamping 'treats' - the House Mouse! I love these stamps and am building up quite a collection. I got these from Joanna Sheen's site a few weeks ago and wanted to use them to make a couple of cards for friends birthdays coming up..they are so cute!!! The stamp is from the 'Mice & Crafty' set.


This card was made on 6x6 card stock, which I covered with paper printed from the House Mouse inserts and backing papers cd-rom. I chose this one because it gives the feeling of material/sewing. 
   Using a die from the Spellbinders Edgeabilities Classic Postage Stamp set I cut the front of the card just over half-way up. I pierced around the outside of the card and across the front using my Tim Holz ruler, and created faux stitches with a white jelly roll pen - but across the front I actually stitched using pink embroidery thread.
The images were stamped and coloured with Promarkers and I cut away the jumping mouse. When Jo Channon was demonstrating these cards on Create and Craft, I briefly caught her showing a card where the mouse was jumping up and down. I only briefly saw it, thought it was a good idea and stored it in my head to decide how I was going to create a similar effect!


I attached the pin cushion to the front of the card with sticky pads so give it some depth, stamped the greeting and cut it with shaped scissors (I thought this would also add the the theme of sewing - my mum had some scissors that cut like this in her sewing box!)
I added a narrow ribbon across the front and  let it run off each side - just because I liked it that way - and added the sentiment, again with sticky pads. I also added Spun Sugar distress ink to the edges of the card, but it doesn't show in the photo at all.


The jumping mouse was created by sticking a narrow strip of thick acetate to the back.
The inside of the card is covered in exactly the same paper as the outside, so I die cut an inner to match the front and stuck it down leaving a channel to feed the acetate into- so that the mouse can be moved up and down at will!


I also photographed the inside of the card to show you the greeting. I typed this and cut it with the Spellbinders Lacey Ovals die...I really like this die, but it's one of the hardest to remove the paper/card from without tearing! Finally I added one more little mouse in a thimble and three little buttons from stash in the top corner.


Love these little guys!
Carole X

Wednesday, 10 August 2011

Christmas Designs Preview 2011

I have decided to create a separate blog post for Christmas cards...hope you like them! 
Some, made with Spellbinders Dies or House Mouse stamps, were also featured on my July blog...so if you wish to see how they were made, please refer back. These are just a few of the designs, there are others in July!!!
 I have now given them titles for easy reference:
White Christmas


The Holly & The Snowflake! 


Eaten too much! 

Merry Berry Mouse
close up from above card
Golden Globes
Windy Winter Day: This card in reality is large (A4), but it could be made to any size. The girl is an image from Polkadoodles Paper Boutique, Creative Christmas CD and I covered each part of her clothing with felt. It's a really 'touchy-feely' card. She is set on a white glitter background and finished off with polkadot ribbon. A fun card, especially for a little girl.

More to follow later....soon

October 30th 2011

For my main blog today, please see the October page, but here are a few more Christmas cards..

The first one was made by first of all embossing the front of the card, using a snowflake die and using my Cuttlebug, using the debossed side. I made 2 poinsettias using Spellbinders dies and the Grand Calibur (I love these dies) and finished it off with a greeting and some deep red sheer ribbon.


 I have made quite a few Christmas cards using the Me to You cd... I printed this one and they cut it out with the Picot Edge Circle Spellbinders die, which is ideal for feeding ribbon through! The card was backed with paper from the cd.


This one is a bit of fun for a dog lover! I covered the 8x8 card with red card from stash; matted and layered the photo (from Joanna Sheen's Furry Friends cd) on silver metallic card, leaving just a narrow edge and finished it off with a swirly shapeabilities die, from the 'Fancilful Holidays' set and the 2010 Spellbinders ornaments set. I added a plain satin ribbon, polka dot ribbon and a button...cute!
That's all for now folks x


November 13th 

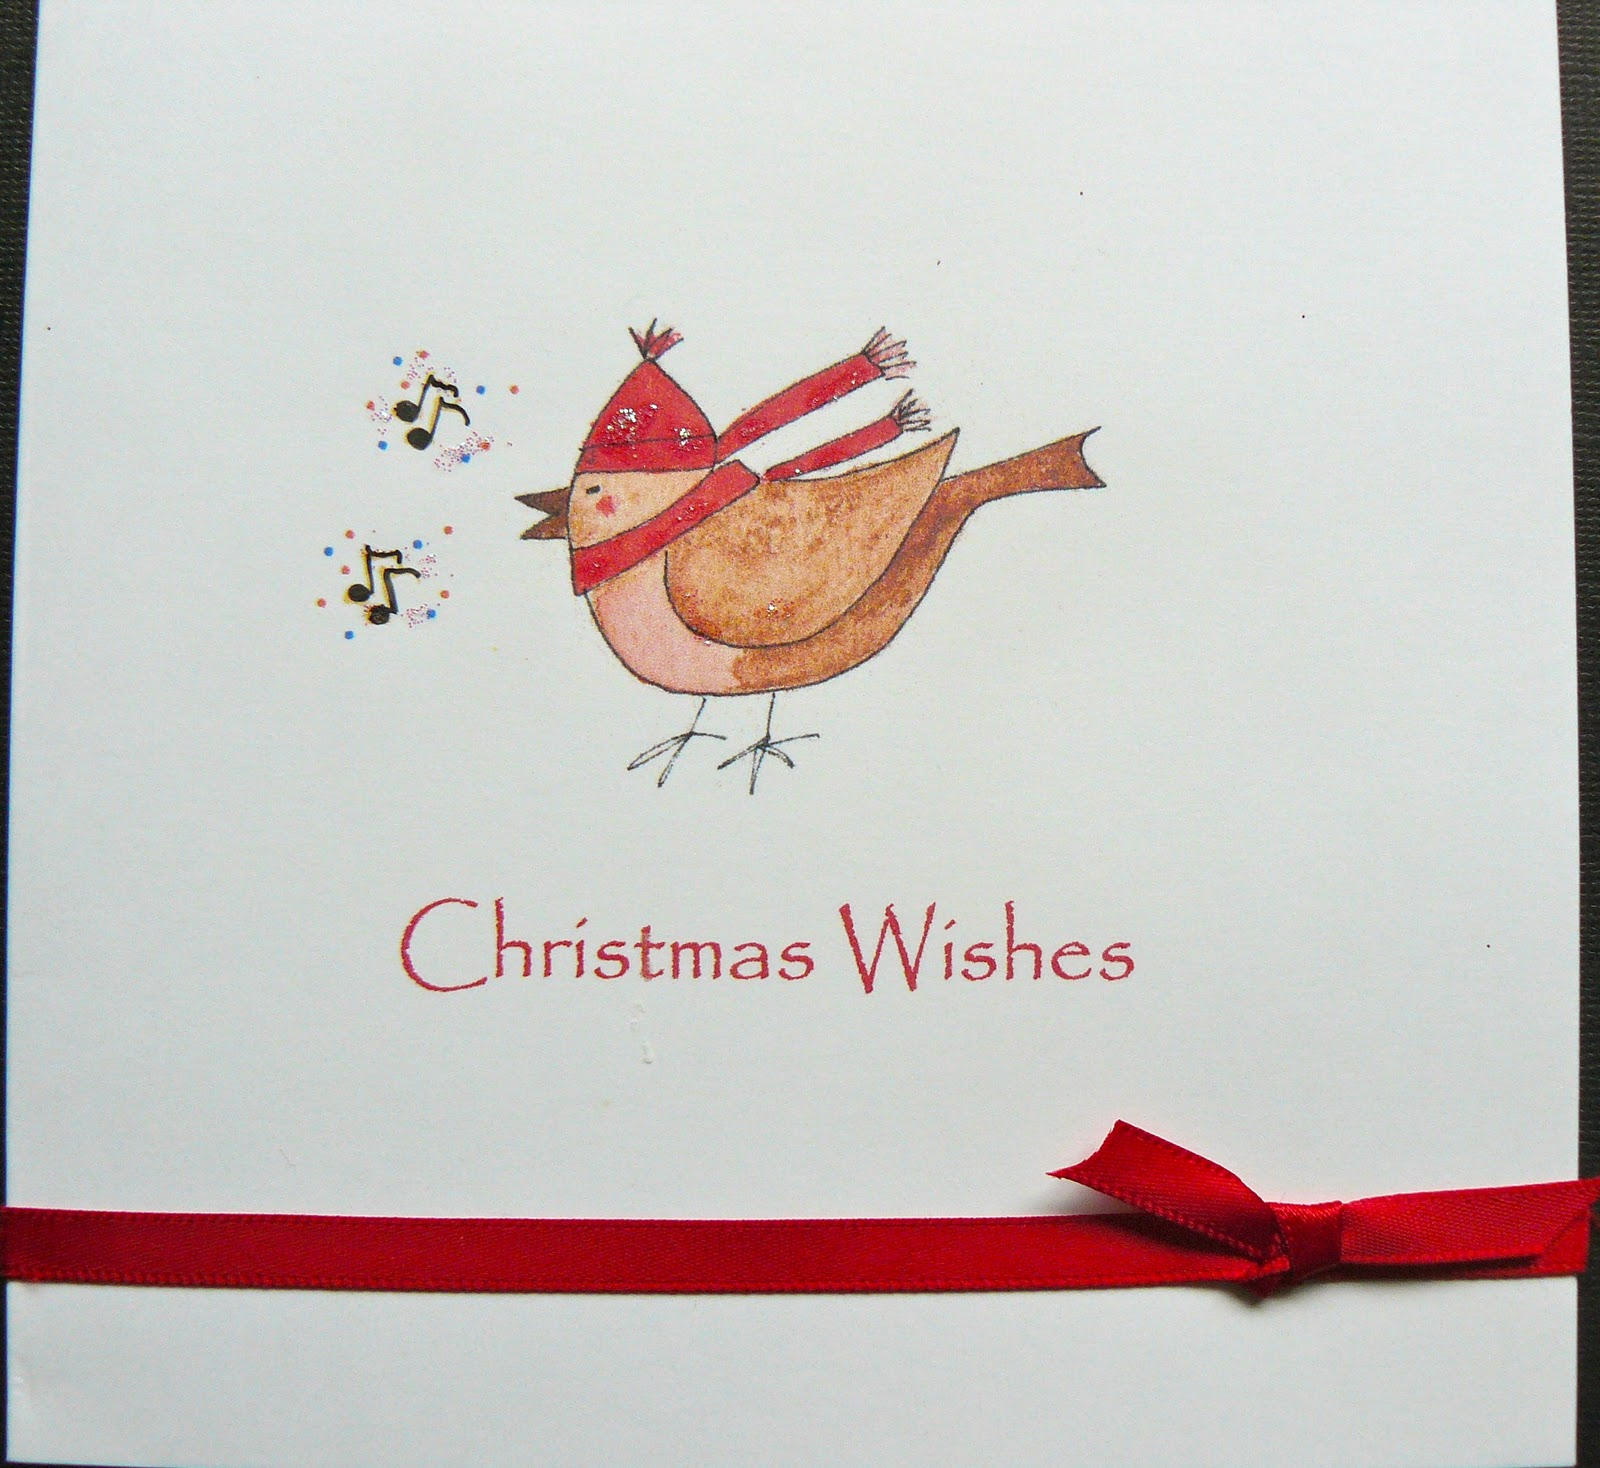
I have been so busy making Christmas cards for orders, that I haven't even started my own yet..which is very worrying! But I wanted to share a few cards with you from my library, and these are cards are made using my own art, which because I am so busy making the cards, I don't get much chance to do lately.. 


 I am not good at drawing from imagination - I need a photo or some other inspiration and I think this was a Christmas ornament that I sketched. I did this is the days before using Promarkers was the preferred colouring medium, so I used watercolours.


This was sketched from a  Primitive folk art picture (I love Prim art) and again watercoloured. I did several paintings similar to this one.


Finally, this is a photo I took at Batsford Arboretum in the Cotswolds, on a spring day a few years ago. He was a very willing little fellow and I took quite a few photos, so decided to put them on my Christmas cards that year... I think next year may be time to bring him out again.


I haven't explained how I made these cards as they are all 6x6 and very simple makes...even made before I got my Calibur and Cricut!